Making a Ruined Building by Asp and l00
Step 1
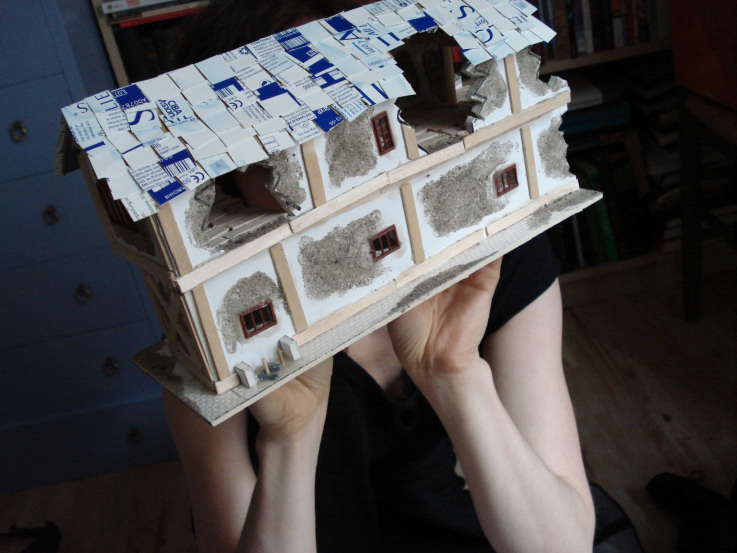
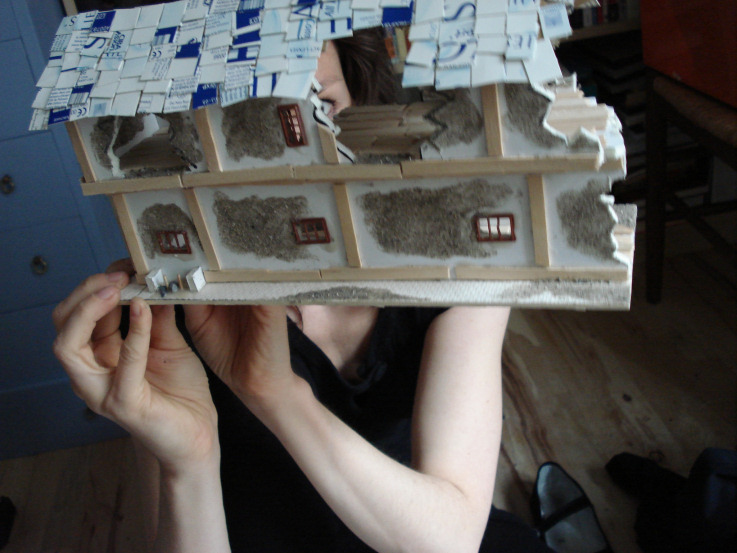
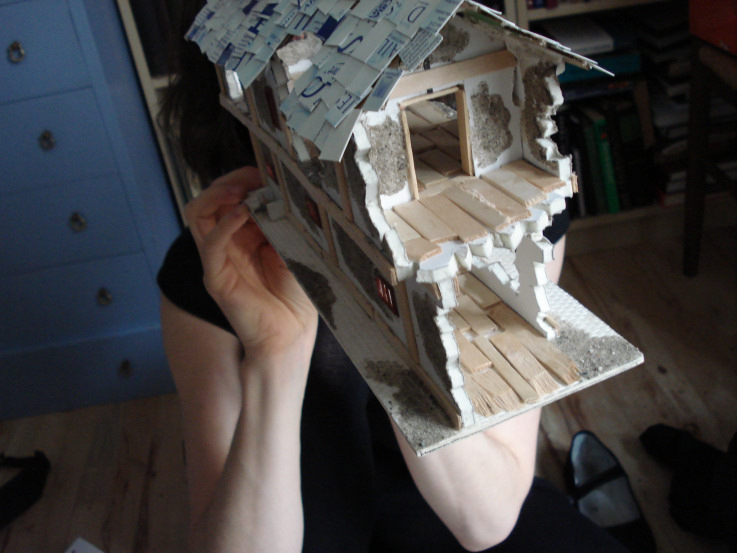
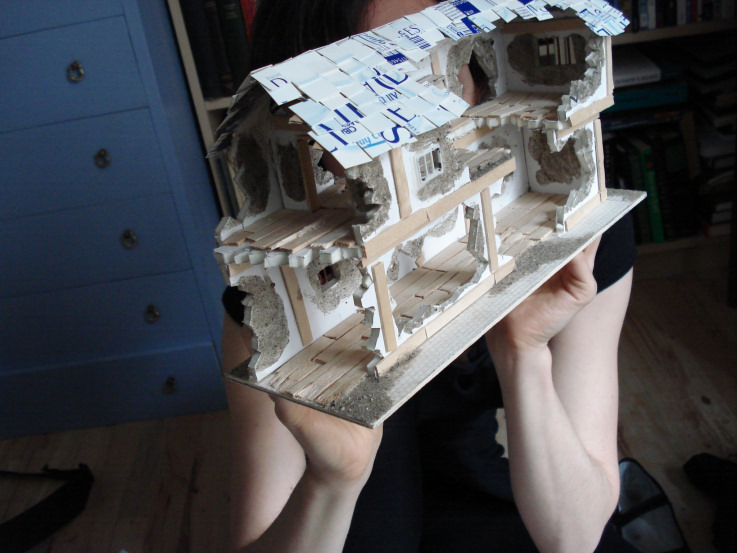
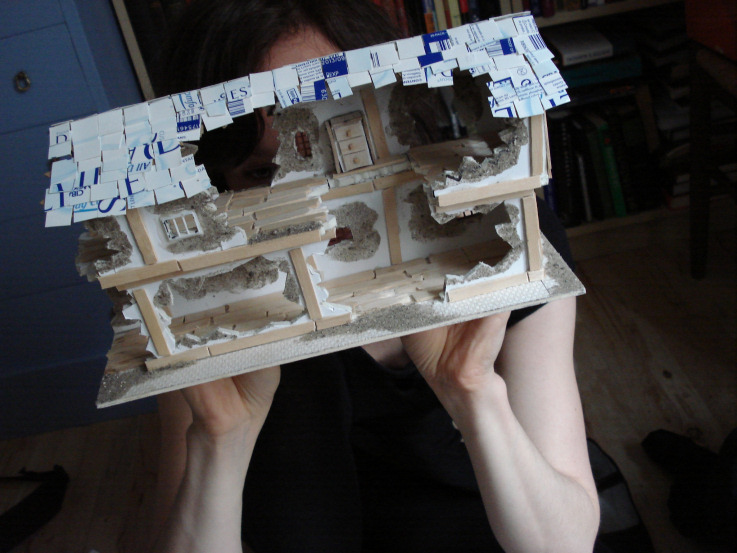
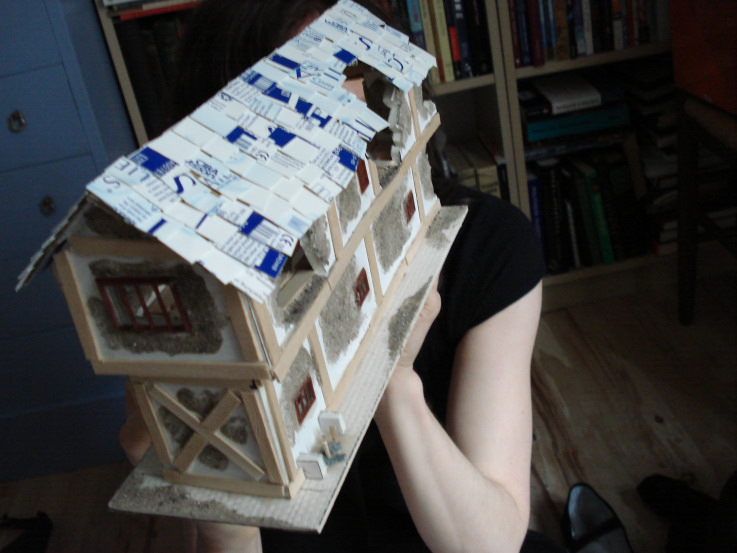
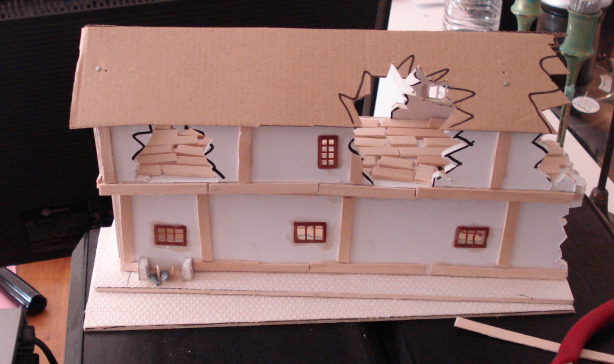
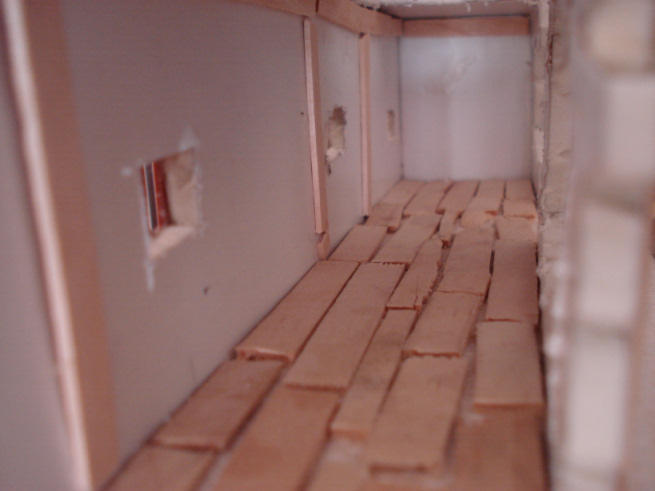
We used the following materials: Modelling Knife, PVA Glue, Hard Cardboard (for the base), Foamcore (for the walls), Coffee Stirrer Sticks, plain Cardboard (for the inner roof), Small Nails (to pin the inner roof) and pre-made Plastic Windows. Cut everything out and glue it together.
Step 2
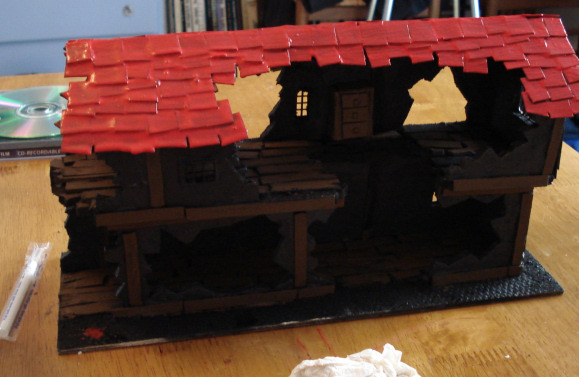
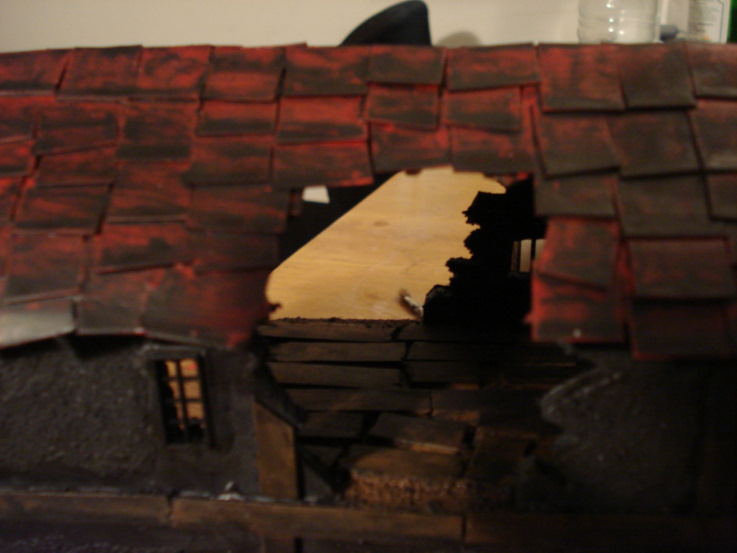
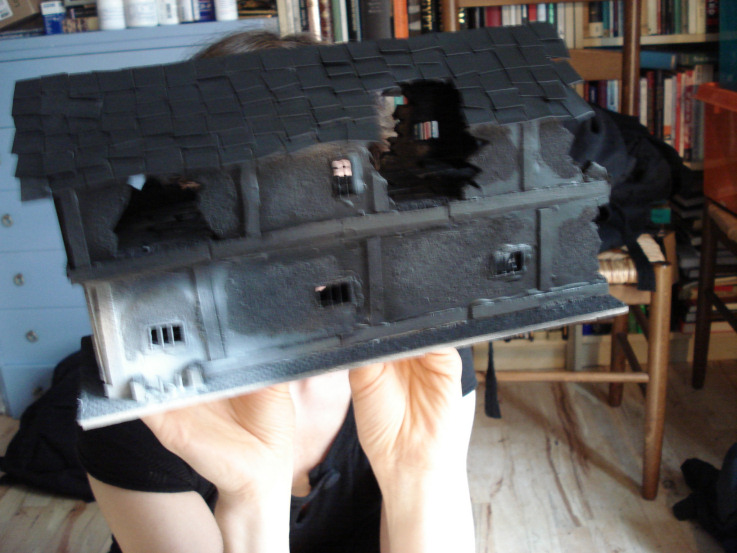
We used sand to add texture to the walls. Then we took some thin-yet-stiff cardboard and cut it into numerous squares. These were then glued onto the roof, starting from the bottom and working our way up.
Step 3
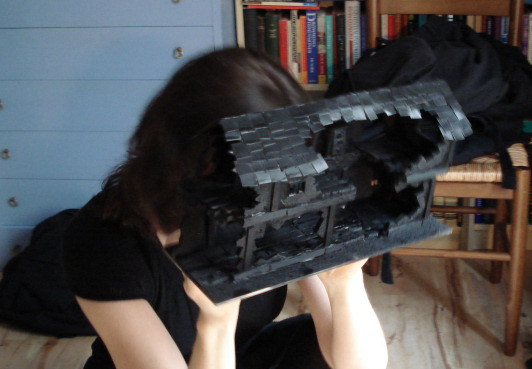
Then prime everything black. This will save you a lot of trouble as even small white spots will look silly on the finished building whereas black spots will just blend in. You can use almost any cheap spray you want as long as you aren’t priming actual models.
Step 4
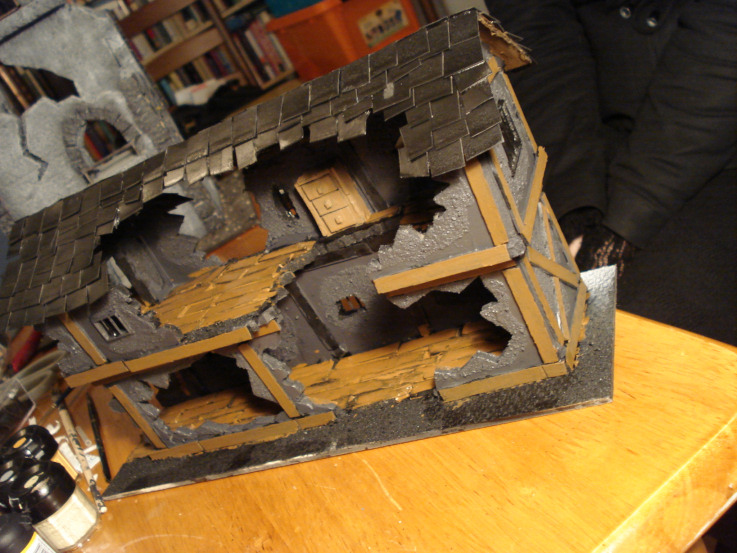
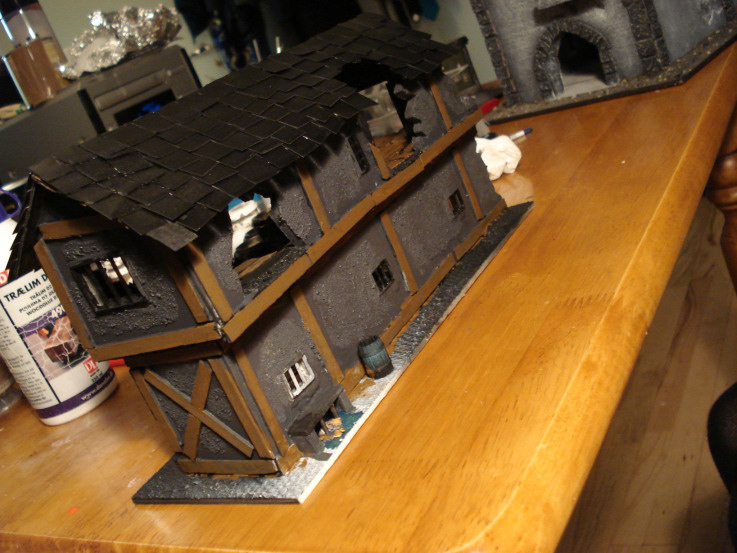
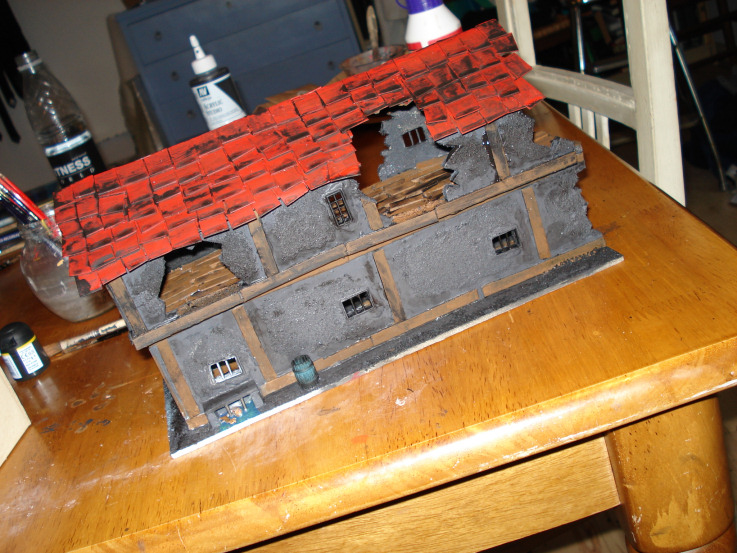
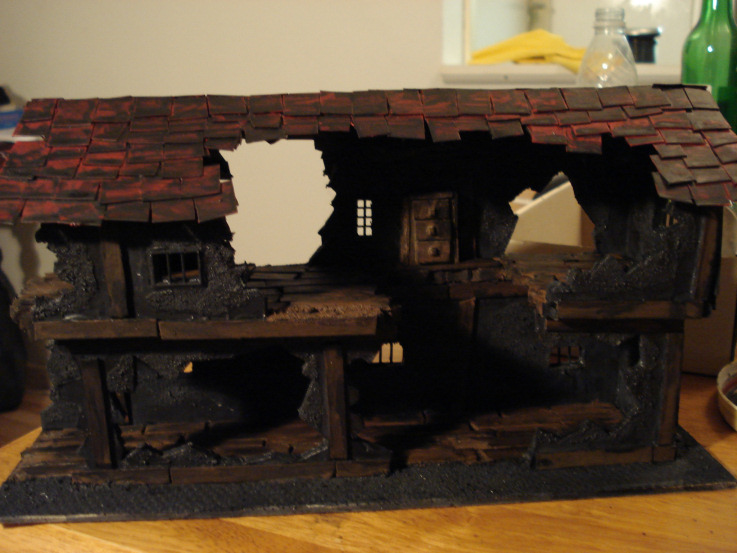
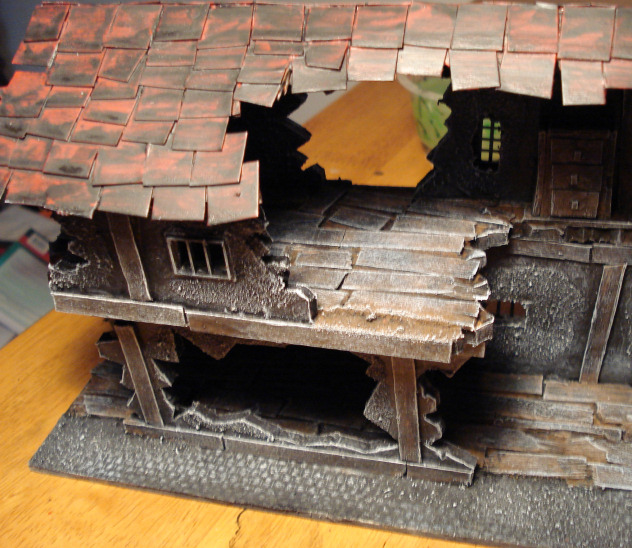
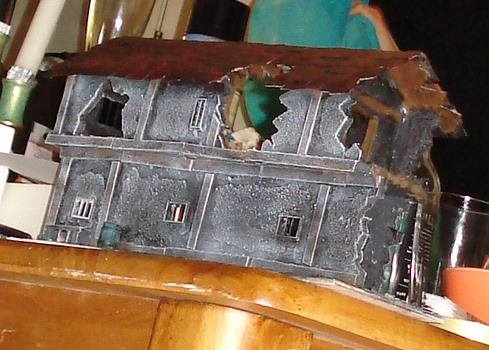
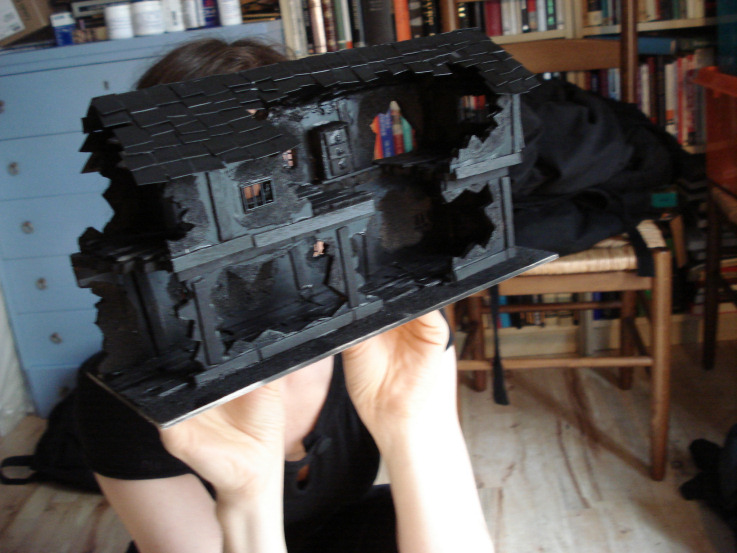
Apply the base colours. We choose a very dark grey for our buildings to add to the gothic feel of Mordheim though most darker colours will work. One thing to keep in mind is the eventual coherence of your city, once you reach many buildings; to this end we keep almost all of our buildings in the grey/brown/red scheme seen below and the totality of the table top landscape looks amazing!
Step 5
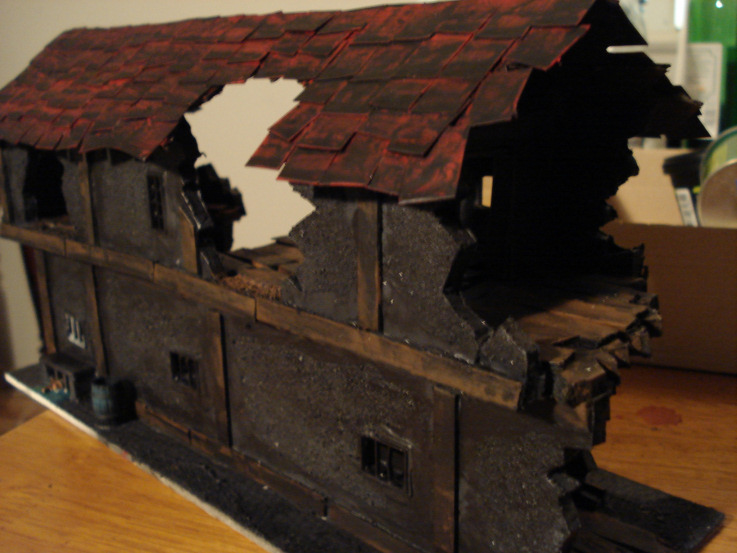
Put two layers of Black Wash all over the building. (‘Wash’ is a technique where you thin the black paint down with water, thus adding a transparent dark layers to the surfaces of the buildings.) Be careful not to get too much water onto the cardboard base as water will make the cardboard warp. Two thin layers will add more contrast than one thick.
[Layer 1]
[Layer 2]
Step 6
Drybrush all of the building except for the roof. (‘Drybrushing’ is a technique where you dip a dry brush in paint, then wipe most of it off again and only then “paint” the building with the dry brush. This highlights the areas dry brushed.) We choose white as it gives the entire building a dusty, ghost-like look and make the models stand out when the move about in the building. A more time-consuming technique would be to drybrush each area in a lighter shade of its original colour (i.e. lighter grey for the walls, lighter brown for the woodwork etc.). This will make the building look even better than our building.
Step 7
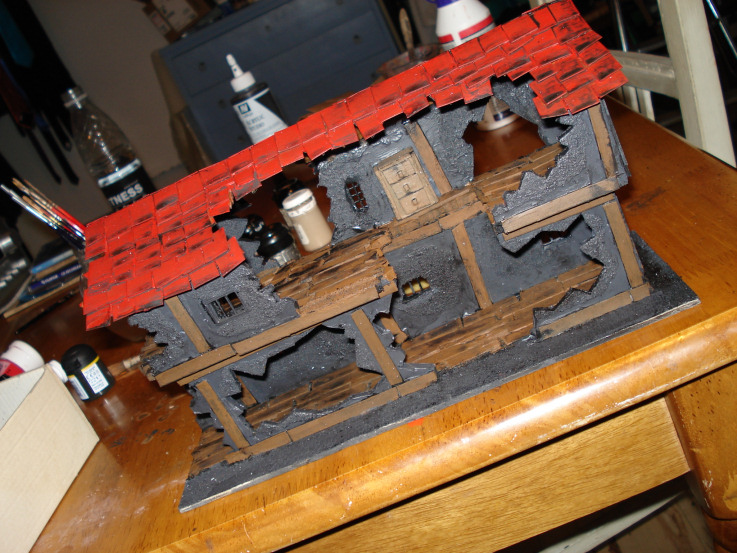
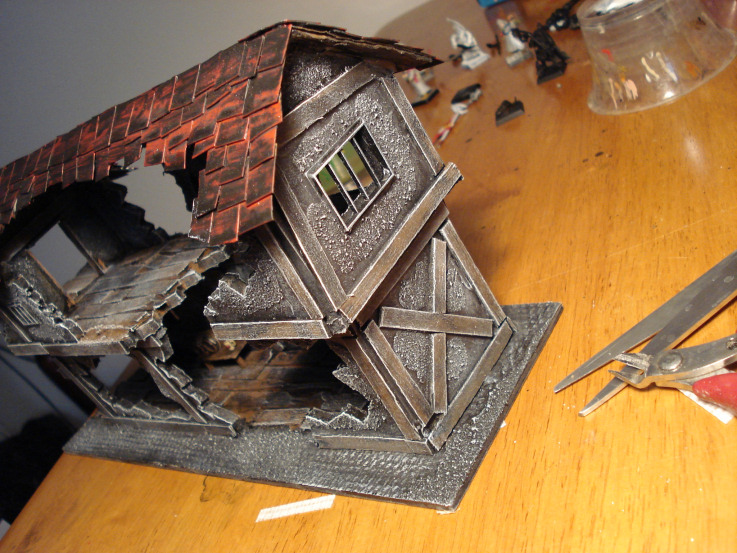
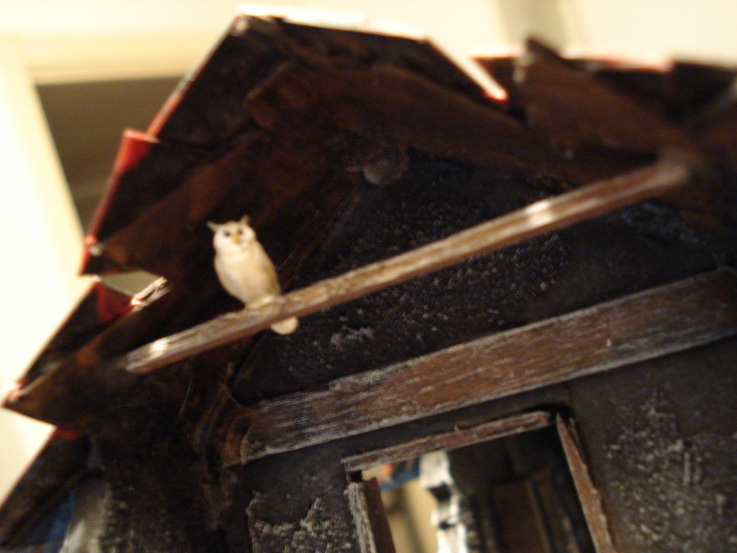
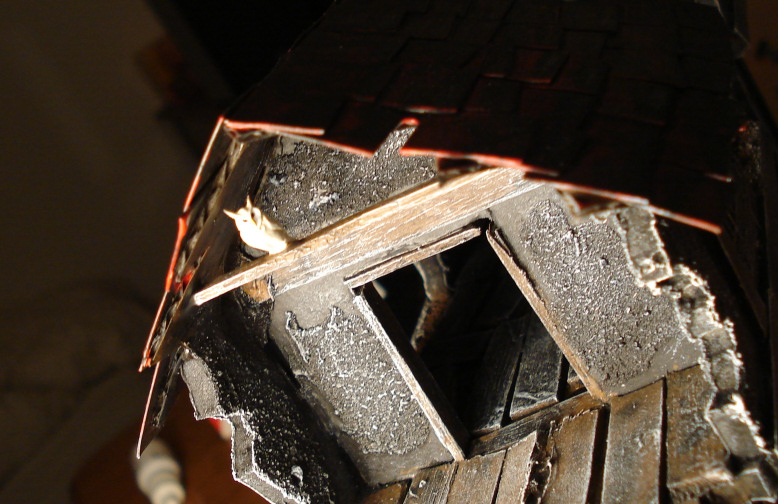
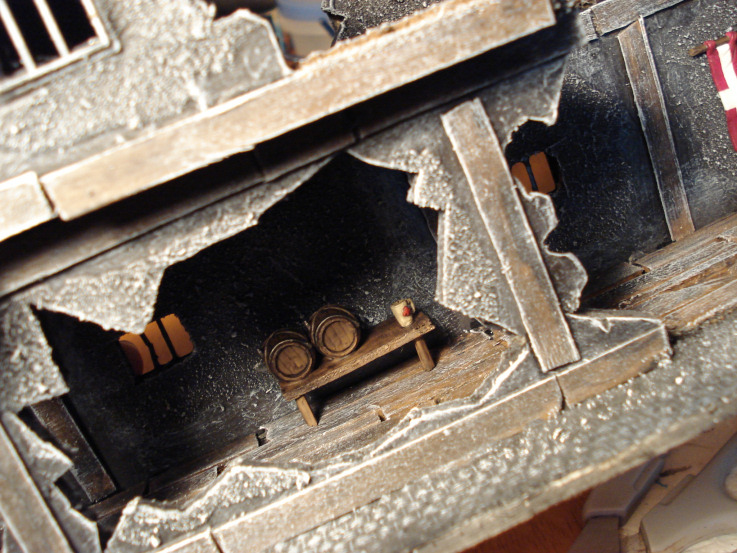
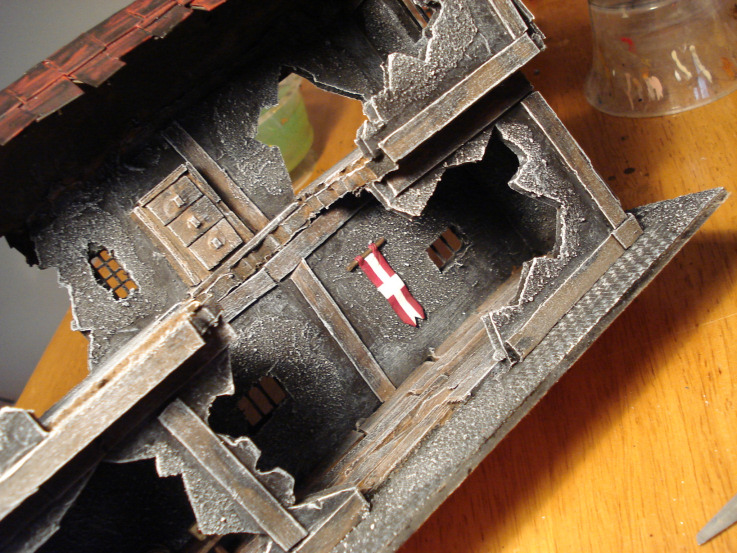
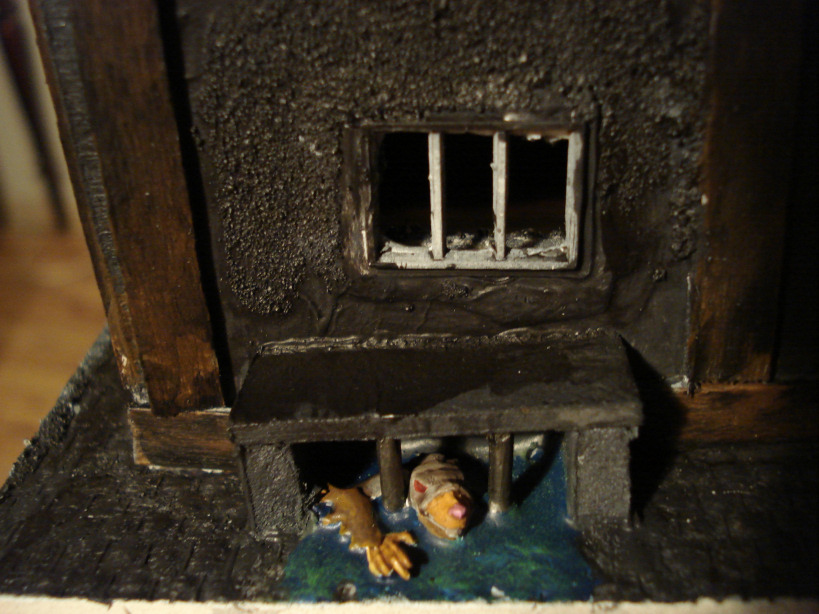
Add details. This is primarily for atmosphere. (If you are just starting out, you might want to get a lot of buildings up and running before adding details.) – For this building we choose an owl from the Wood Elf Dryad-Box, Barrels from Ogre Kingdoms, a Bretonnian Mug, a High Elves Banner, and some old Skaven Night Runner bits.